

Inkscape tutorials | How to draw a crown
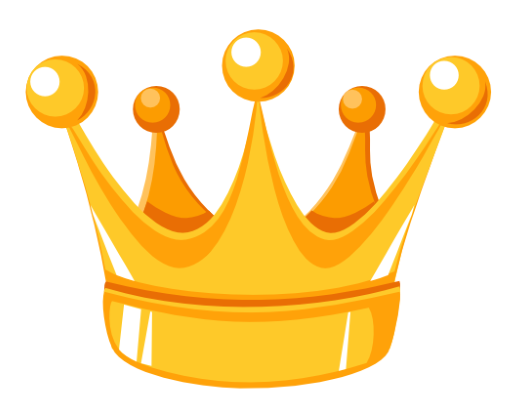
Today we are going to create a cartoon crown. We’ll be using basic Inkscape tools for creating shapes, Fill and Aligning dialogues and preset color palette, which I prepared up in advance.
Note: Though I’ll be using Inkscape to show the process, the principles given below can be more or less applicable to drawing process in any other vector editor.
Basic shape
1. Grab the Bezier Tool (Shift+F6) and draw basic crown shape using ‘from node to node’ method. We’ll use this shape for the front part of the crown
2. Place nodes in the right places and modify paths with Edit Nodes Tool (F2)
3. Open ‘Align and Distribute’ dialogue (Shift+Ctrl+A) and align nodes, if it’s necessary
4. Take Ellipse Tool (F5) and draw circle on every peak. Hold down the Ctrl key while drawing to make them perfect
5. Create two more triangular shapes with circles at the peaks for the back part of the crown
6. Create a rectangular shape for convex part of the crown
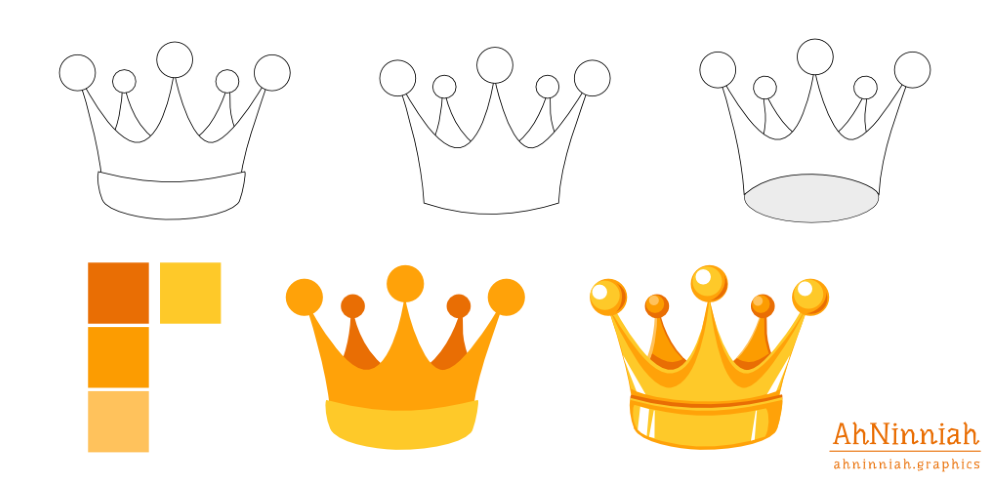
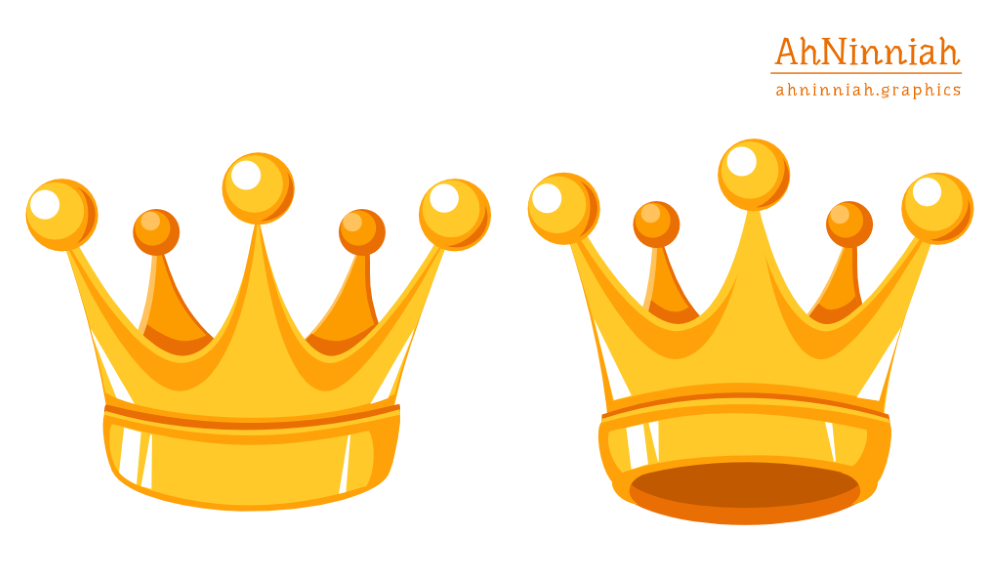
Note: At the point of constructing basic shape we should find out, at which angle we are looking at the crown. If it’s lower than vanishing point, the bottom line of the crown will be convex, if above - this line will be concave. Moreover, from this view point we should see the inner part of the crown. These laws of perspective can be also applied to back elements of a crown. Note that the circles behind were drawn smaller than the front ones.
Coloring
7. We’ll be using preset Orange-Yellow color palette in order to not distract on choosing colors.
8. The front part of the crown is, definitely, closer to the viewer. That’s why it should be lighter. By coloring back triangles and circles with darker colors, we show that they are placed behind other shapes

Adding volume
9. Right now our drawing looks pretty plain. To fix it, we need to show wall thickness of the crown. Duplicate basic shapes, change their color and move them horizontally and vertically, if it’s needed.
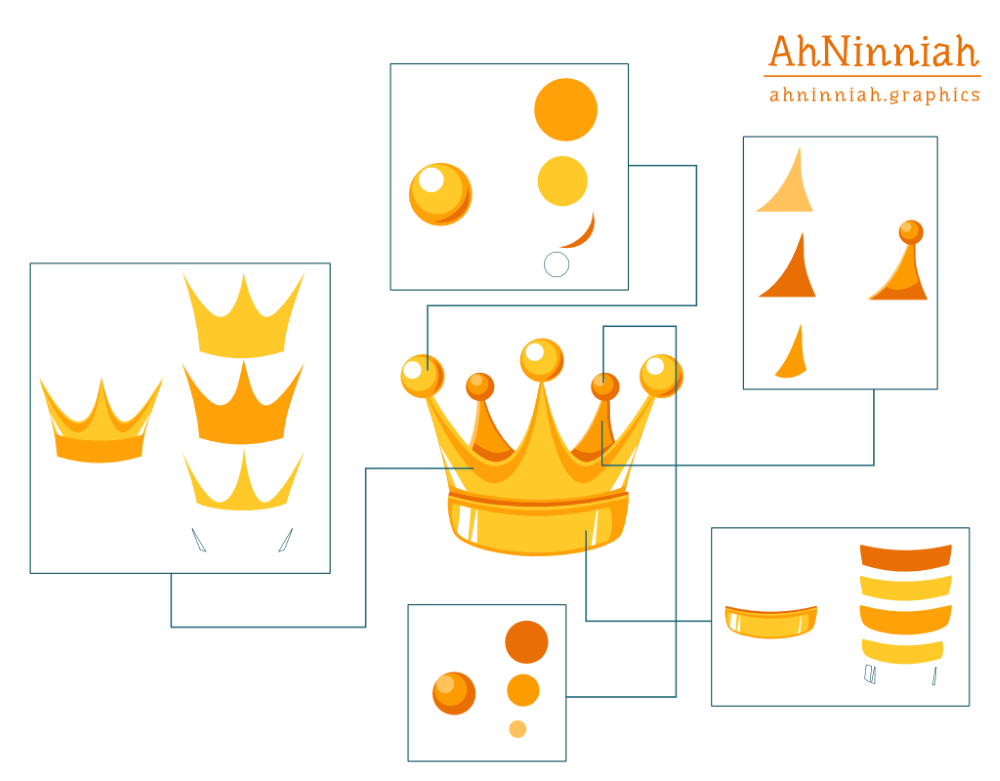
10. Golden balls can be modified by using this technique - Highlights and Shadows: 7 steps to make your object more realistic
11. On the picture above you can see that every finalized shape consists of duplicates of the initial shape. Slightly different, but still almost the same. So, keep that in mind.
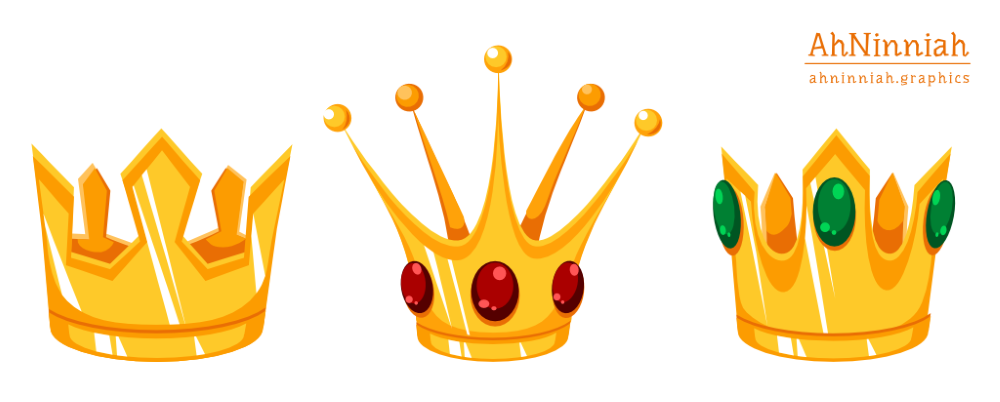
Variations
Don't forget to experiment with different shapes. Using the same principles of adding color and volume, you can create various versions of crowns. You can also add some textile parts or gems to your crown.
Note: We’ll look at the process of creating gems in the next tutorial
Video process
Here is the video process of creating the crown. Take a look, if you got stuck on something.
That’s all for now! Please, post your results in the comments. And if you like the tutorial, please, share it :)
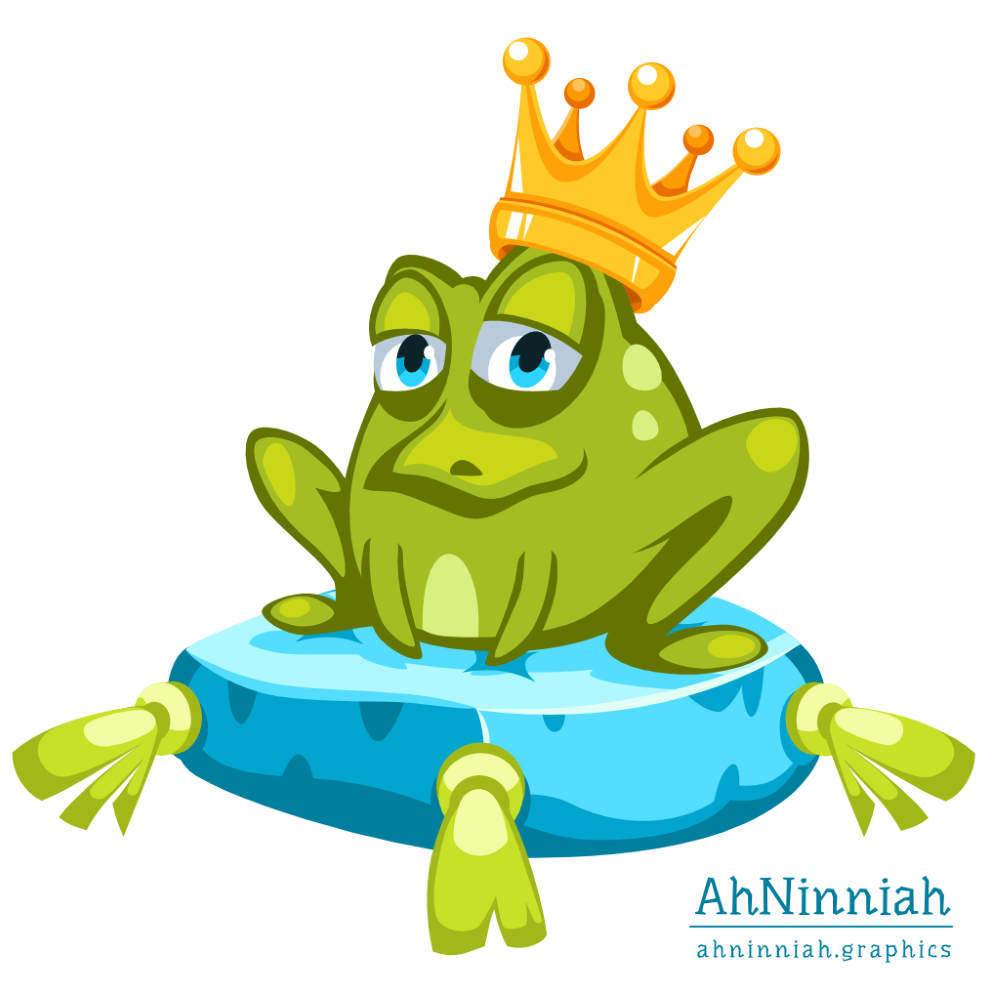
Buy Crowns Pack inspired by this tutorial |Download this tutorial in PDF
buy