Inkscape tutorials | How to draw gems

This time we are going to look at the process of creation cartoon gems. We’ll be using basic shapes and then modify them for our needs.
Note: Though I’ll be using Inkscape to show the process, the principles given below can be more or less applicable to drawing process in any other vector editor.

Sparkle
The surface of our gems is highly reflective and we need to show it through sparkles. Almost every sparkle or shine can be represented by white lines or a star-based shape. So let’s create one shape, that we will use later.
1. Grab a Star Tool from the Tool Box. Set its ‘Corners’ setting to 4, and ‘Spoke ratio’ to something about 0.131 (The last setting may vary, as I adjusted it using a handle on the shape itself). Draw a star shape.
2. Duplicate (Ctrl+D) the result, rotate and scale it uniformly (holding down the Ctrl key).
Purple gem

Basic shape
Purple gem has an easy distinguishable diamond shape.
1-2. Create a square (F4), rotate and scale it down a little, just to make it look like a diamond shape. Make sure to convert object to path (Shift+Ctrl+C)
3. Duplicate the result (Ctrl+D). Take a Node Tool (F2) and remove the lower node.
Note: after deleting the lower node, the path between two remaining middle nodes will become curved. To make it straight, select these both nodes and click “Make selected nodes corner” at the Options Bar.
Then select two middle nodes and insert a new node between them by clicking on the appropriate button at the Options Bar. After that, remove the left node.
4-5. Duplicate the resulting shape four times to fill the entire diamond-like shape. The ’Align and Distribute’ dialogue (Shift+Ctrl+A) will help you in this.
Coloring
I've prepared a color palette for the purple gem in advance. But you can use any colors that you like.
Note: you can download SVG-file with color palette for creating your own gems here.
6. Fill the lower planes with darker color, and the upper ones - with lighter.
7. In order to add a volume to our gem, we need to highlight the edges (as they are the closest gem's part to the viewer). Grab the Bezier Tool (Shift+F6) and draw a star-like shape over the edges using ‘from node to node’ method
8. Also, with Bezier Tool create light and reflected light. Draw couple of circles with Ellipse Tool (F5) for the light as well.
9. To make our shape more readable, scale up the original diamond shape, place it at the bottom (End) and fill it with the darkest color from the palette.
10. The final touch is to add a shine to our gem. Grab our preset sparkle, fill it with white color and place it where you think the light hits. And that’s all!
Green gem

Basic shape
Green gem is a little bit more complex than the purple one because of a large number of corners.
Note: the number of corners may be different, as the original shape itself. I encourage you to experiment with forms and colors. Using the same principles of adding color and volume, you can create various versions of gems.
1. Grab a Star Tool and change it’s mode to Regular Polygon at the Options Tool, then set its corners setting to 8. Draw a polygon.
2. Duplicate (Ctrl+D) the polygon and scale it down uniformly and around rotation center (holding down the Ctrl + Shift keys). Make sure to convert both object to path (Shift+Ctrl+C)
3. Duplicate (Ctrl+D) the larger polygon and make of it a triangle by deleting unnecessary nodes. Adjust the peak node, so that the edges of triangle matched the corners of the smaller polygon.
4-5. Duplicate the triangle as many times as needed and align them as shown in the picture above.
Coloring
Actually, the coloring is almost the same as for the other gems (see purple gem coloring). There is a picture above to guide you through this process.
Blue gem

Basic shape
Blue gem is even more complex, as its form is volumetric by itself (the viewer can see the upper plane of the gem).
1-2. For the basic shape we need a Polygon Tool with 5 corners set. Flip the result vertically (V) and convert object to path.
3. Add more nodes to the top path...
Note: In our example, it’s better to add nodes via ‘Insert new nodes to a selected segments’ button at the Tool Options Bar (after selecting Nodes Tool). Nodes will be added right in the middle of each segment. In our case, push this button twice after selecting top path nodes.
... and place them slightly above.
4-5. Duplicate this shape three times and adjust nodes as shown in the picture.
Coloring
The coloring is almost the same as for the other gems except for one step:
9. Earlier we used a dark color for the outline. This time we will use light outline and supplement it by a darker part at the top.
Video process
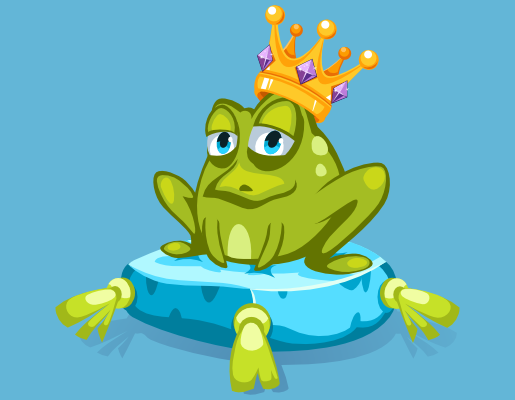
Here is the video process of creating the crown. Take a look, if you got stuck on something.
That’s all for now! Please, post your results in the comments. And if you like the tutorial, please, share it :)
Buy Gems Pack inspired by this tutorial | Download this tutorial in PDF
buy

